Category Archives: Electronics

TGIMBOEJ – A Basement in Chicago

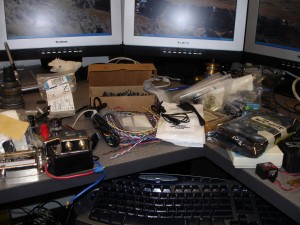
I’ve received another Great Internet Migratory Box of Electronic Junkthis one from Chicago.

It took me a little while to get this one out the door, but it has been passed on towards greener pastures.

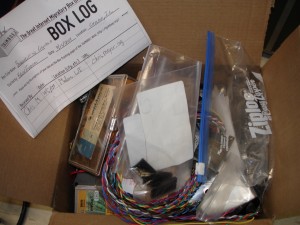
This box contained a variety of toys, oddly enough ANOTHER US Robotics Data/Fax Modem, a huge amphenol connector (which meant I had to include a bigger one!), a hard drive, several coax in-line amplifiers, a whole box full of random IC’s.  A nice decade set of capacitors, a dead backup battery, some adjustable capacitors and much more electronic “stuff”

A Basement in Chicago TGIMBOEJ

A Basement in Chicago TGIMBOEJ

Quite a Bit Fits in Such a Small Box

Quite a Bit Fits in Such a Small Box

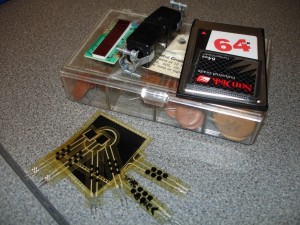
I ended up pulling out the decade capacitor set, a set of pressure sensitive resistors, a CF card, a random 6 pin connector I run into a lot on old equipment, and last but not least an ancient PCMCIA flash card:

Parts Removed

Parts Removed

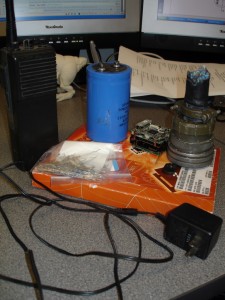
I ended up adding a development kit from Freescale Semiconductor, a huge capacitor, a giant amphenol connector and an old police radio that doesn’t seem to work??

Parts Added

Parts Added

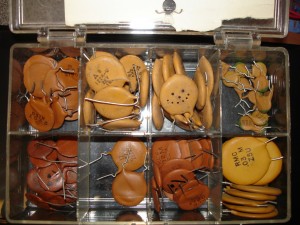
Additionally, I realized today this box of decade capacitors has random smilie faces drawn on them:

Happy Capacitors

Happy Capacitors

At any rate, the box has been passed on to Tim and will hopefully be on it’s way to another lucky recipient shortly!

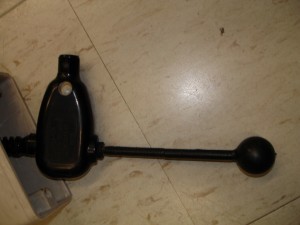
Enabling Devices Ultimate Switch

Anyone out there who’s more of a DIYer looking for special needs solutions may consider purchasing one of these Ultimate Switches from Enabling Devices. For ~$60 it might look like a cheap buy next to some of their other devices like this ~$250 Little Tikes toy.

Ultimate Switch

Ultimate Switch

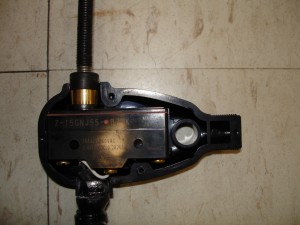
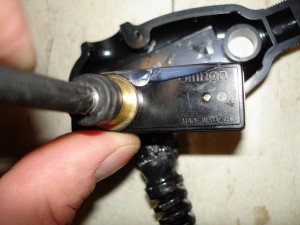
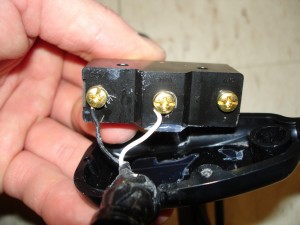
Inside the Ultimate Switch is nothing more than an Omron single pole single throw momentary switch.

Omron Z-15GNJ55 Switch

Omron Z-15GNJ55 Switch

Omron Z-15GNJ55 Switch Top

Omron Z-15GNJ55 Switch Top

Omron Z-15GNJ55 Switch Bottom

Omron Z-15GNJ55 Switch Bottom

Digikey previously sold the same switch for $30 at one-off-quantities, you can likely get it cheaper from a supply house or from Omron directly in their industrial automation limit switches category.

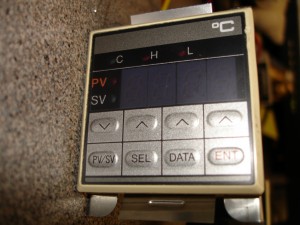
Fuji PYZ Series PYZ4RAY1-4V Controller Dead

I’ve got 3 PYZ series PYZ4RAY1-4V controllers who have all decided to quit working in a week or so of eachother.

Fuji PYZ Controller

Fuji PYZ Controller

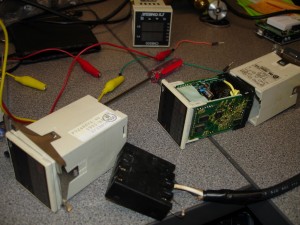
They all won’t respond correctly to the sense input (TC, RTD, Voltage/Current) and 2 of them are stuck at -208 no matter what. I don’t see any glaring issues on the boards, the capacitors are all happy, nothing burned out/damaged. Can’t find any reference to them on the internet except for a manual here.

I’ve also got an Omega CN8500 with similar issues.

Anyone else familiar with these controllers?

Fuji PYZ Controller

Lots of Fuji PYZ Controllers

Introduction to Arduino Powerpoint

If anyone else out there is planning on presenting an Introduction to Arduino in the near future feel free to build off my presentation here.  I’ve tried to cite anywhere that the images came from, keeping in mind that I was using the images in an educational setting which has magic rules for fair use.

Fair use explicitly allows use of copyrighted materials for educational purposes such as criticism, comment, news reporting, teaching, scholarship, and research. Rather than listing exact limits of fair use, copyright law provides four standards for determination of the fair use exemption:

Let me know if this helps you out or if you have an glaring complaints 🙂

DOWNLOAD:

Introduction to Arduino Presentation

Presentation and demo (not included) given at the 2009 Enlight student organization kickoff meeting at the University of Wisconsin – Madison

Creative Commons License
This work is licensed under a Creative Commons Attribution-Noncommercial-Share Alike 3.0 United States License.

Dell Precision 650 Bad Capacitors

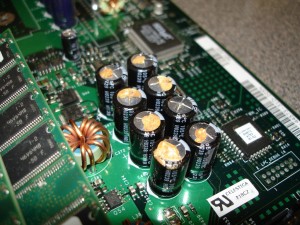
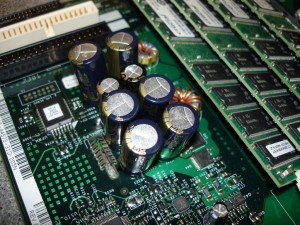
I was given a full Dell Precision 650 that wasn’t booting. In taking a glance at it, it was obvious what was wrong with the poor thing:

Bad/Leaky Capacitors

Bad/Leaky Capacitors

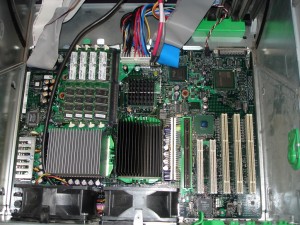
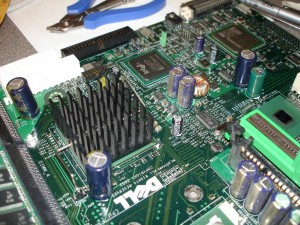
Dell Precision 650 Motherboard

Dell Precision 650 Motherboard

I pulled the motherboard and swapped all of the electrolytics out for known good capacitors.

Good Capacitors

Good Capacitors

After swapping out all of the bad capacitors it fired up like new!

Lots to replace!

Lots to replace!

The Great Internet Migratory Box of Electronic Junk Arrives!

I signed up a few months ago on a fun website which tracks boxes of electronic junk being mailed around the world.
Tgimboej Logo
Of course I wanted to receive my own box of random electronic junk and send it on its way, so I added myself to the list and awaited an e-mail. A few weeks passed and I was contacted by Ronald in Tennessee who was starting several new boxes and wondered if I’d like to receive one. Three days later a box arrives via priority mail at work marked “Rattling is Normal” and it was here!

TGIMBOEJ

Of course if USPS was handling anything but junk the box would have been ripped apart and inspected by the DEA, ATF and the CIA; and it would have taken 7+ days to get here despite being priority, but junk, hell, they probably flew it up to make sure it got here quick. . .

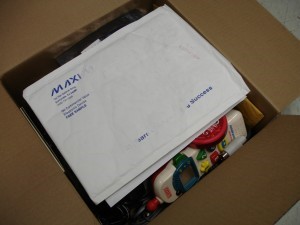
On opening the box it was apparent that, as advertised, it was indeed a box of junk 🙂

TGIMBOEJ

I’ll post the contents and what I added after it reaches Colin since I know he’ll cheat and read this before the box reaches him!

Wii Power Brick Screws

First:  Your power brick is most likely NOT broken, don’t waste your time opening it up, instead unplug it, go outside and run around for 15 minutes, come back and plug it in and see if it’s now magically fixed!   (Shortcut is to unplug it and short out the output to drain the capacitors in the power supply, making damn sure it’s unplugged before doing so so you don’t actually pop the fuses)

On with the opening up step if you’re still not convinced. . .

If you’re wondering how to open a Nintendo Wii power supply brick you’re in luck. For some reason my Wii wouldn’t power on at all last night, no red, yellow or green lights on the console, nothing. I grabbed my trusty Harbor Freight multimeter and checked the power supply output. Nothing. Next up was to open up the power supply and find out if my power brick had suffered from a blown fuse. Of course, Nintendo put proprietary screws on the power brick to prevent someone from opening it, and of course they weren’t tri-wing, they’re some nutball spanner screw heads. The good thing is that they’re a terrible “tamper proof” head, as they put the dimples directly opposite of each other (even number of engagement points).
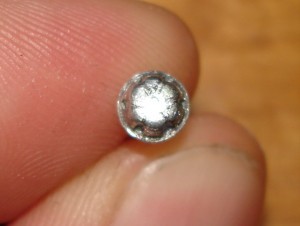
Wii Power Supply Screws

If you want to build a truly pain in the ass fastener you need to have features that don’t line up, typically by using an odd number of engagement points, like the tri-wing screws they use on the console. Just grab a pair (or two) of needle nose pliers
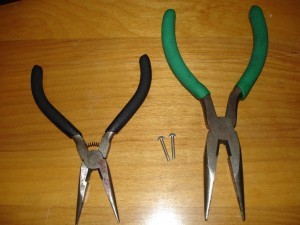
Needle Nose Pliers

And span the screw with the tip of the pliers, apply force to engage the pliers in the dimples and then carefully twist left. You should be able to see the screws almost immediately rise away from the supply. The good thing is they used correct, coarse threaded high angle plastic screws so it’s only about 4 turns to get them out of the supply.
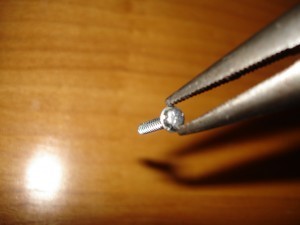
Span the Screw with Pliers

The annoying thing is that the fuse wasn’t burned out on the supply, nor was there anything else wrong with it. It definitely smells like hot plastic/capacitor electrolyte in there, and they’re using lead free solder and don’t have the best joints I’ve seen, but nothing major. I’m thinking the supply may have not started up correctly and therefore shut it self off (there are some optocouplers on there to detect if the supply is operating correctly and feed back to the mains side of the supply). So most likely by me unplugging it and the time it took to disassemble “fixed” it, otherwise there may be a dry solder joint in there that was flexed the right way to remake contact while I was taking it apart. YMMV

Nintendo has a remarkably useful write up here regarding resetting the Wii power supply.
RIP Dremel XPS

Well, all good things must one day die. . .  the dremel decided to start smoking and burning my hand while I was cutting out a mounting plate for an RC airplane.  There was no heavy loads, long operating times, or abuse in the life of my dremel tool.  It was barely used on the odd job for the last 2 years but appeared to suffer a meltdown this afternoon.  A post mortem investigation is pending.

UPDATE
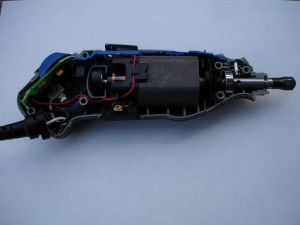
I disassembled the dremel to find nothing too obvious dead with it.

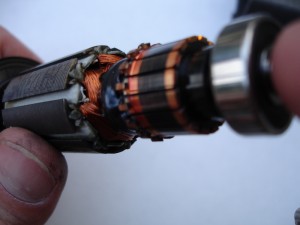
The rotor definitely overheated by the looks of the plastic dripping out the sides near the rotor windings. . .

Figuring that I don’t have anything to lose besides letting a little more smoke out I decide to reassemble and plug it back in.  It seems to have straightened itself out over the course of disassembly/reassembly.  I’m betting that the carbon brushes were dirty and causing excess arcing by the looks at the commutator (copper thing at the right of the rotor pictured above with the nice black wide line on it).  We’ll see how long it lasts until I need call the Dremel company

42″ Plasma Screen!

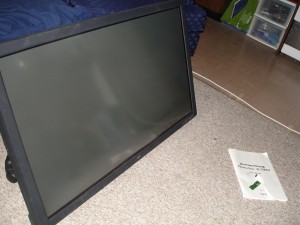
My brother is a Craigslist hawk and e-mailed me a plasma screen monitor in need of some love.  As it turned out, the screen had been at a repair place that went out of business and this guy picked it up from a friend of his who worked there.  The flat flex cable that ran from the front panel to the remote IR pickup was destroyed at some point when it was apart and he didn’t know how to fix it – so he wanted $100 and his garage space back.

Turns out the cable is a 1mm pitch 12 position flat flex cable, something that Digikey sells for $4.18.  There is of course a new cable in the mail and I should have it fixed by this next weekend 🙂

42\" NEC Plasmasync Monitor

Finally Gave Up on My Nexus Jaguar Amplifier

. . . from 6 years ago

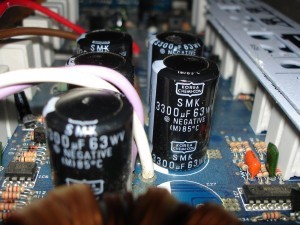
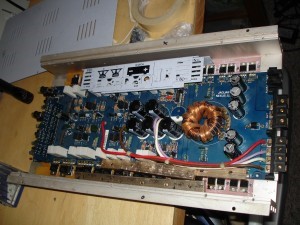
I bought a “stereo” from another guy at high school composed of a Digital Designs 15″ subwoofer and a Nexus Jaguar 1100 watt amplifier when I was a sophomore in high school. I’ve been digging through the electronics off and on for the last couple of years. I finally got it out again yesterday and immediately noticed that the bank of 6 power filter capacitors in the center were pretty bulgy. I tried desoldering them (with the aid of a 1500W heat gun to “preheat”) and to no avail, I got a single capacitor out with the through hole plating still stuck to the legs – so that pad is dead. . . I took a look online to find the cheapest substitute was about $35/each and quickly realized that this wasn’t worth it at all.
The curse of bulgy capacitors strikes another electrical item

The amplifier in all of its glory

So the former neighborhood terrorizer will be surrendered into the “spare parts bin” to live on in whatever may need parts off of it.