I spent more than 20 minutes trying to figure out the LabVIEW shared variable engine so it’s worth writing about. My objective was to test the shared variable engine across multiple networked computers, if you are just trying to get the shared variable engine running this post applies to you as well, but you should not follow the steps to configure multiple computers.
The first note, is that they have a good page write up regarding shared variables here. After reading a little bit about shared variables you should open up LabVIEW, go to:
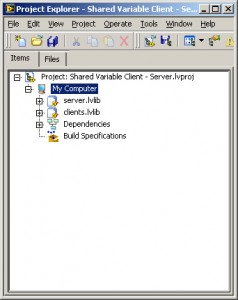
Help – Find Examples. . . and search for shared. This will bring up a list of shared variable examples. Open up the “Shared Variable Client – Server.lvproj”.
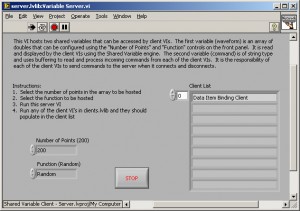
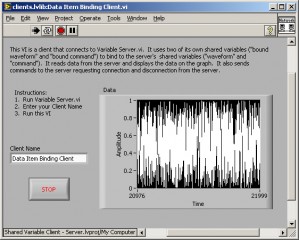
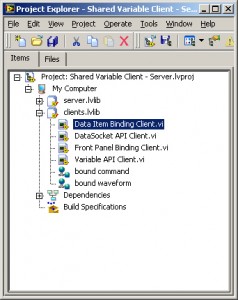
Now expand the server.lvlib and run “Variable Server.vi”. Once you have this up and running, go back to the project explorer and now expand clients.lvlib and run any of the VI’s from this category – ie: “Data Item Binding Client.vi”.
Now you should have something that looks like:
What’s happening is the LabVIEW project is sharing waveform information from the “server” in the form of TCP (I had UDP here, it’s clearly not as this would not have any confirmation of packet receipt – TCP vs. UDP) information packets and the “client” is listening to the waveform data and initializing communications by sending the server it’s Client Name.
If you want to get this example running across multiple computers you can see some useful information here. The idea is that you need to now repeat the above steps on another computer, only this time DON’T open and run another server, we’re going to get the Client to read data from the other computer!
First step is to repeat the above and get the example project open on another computer. Once you have the project opened up, let’s choose to get data from the other computer who is running now as a server.
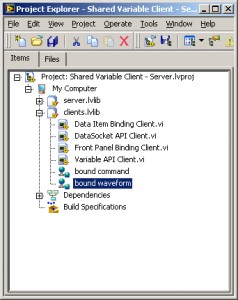
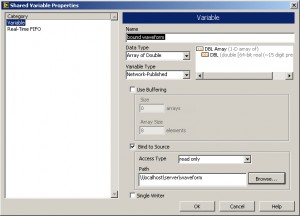
First double click the “bound waveform” variable so we can choose where to get data from.
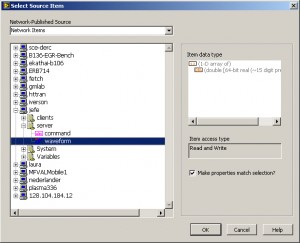
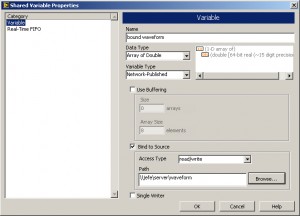
Now check the box “Bind to Source”, and click Browse… and find your other computer who is acting as the server.
Now go back and run any of the client VI’s and with any luck you should have data running from the server to each of the clients successfully!
If you create your own VI’s it’s very simple to create shared variables, just right click the project, go to new variable and configure it just as you’ve done above and you should be off and rolling in no time!
Pretty good explanation, but as I’ve been digging into the LV shared variable it seems that as of LV 8.5 it’s built on the TCP/IP stack rather than UDP
see http://zone.ni.com/devzone/cda/tut/p/id/4679 for details
Absolutely correct, I think I was on cruise control when I wrote that. LabVIEW uses TCP to confirm packet receipt, see above link in the text.
I am also using shared variable (network) but i suddenly experienced a zero value from the shared variable. And up to this time i cant find the solution to regain the actual data. What do you think is the problem?
Thanks a lot.
You should check out Lava Developers Forum and post both of your VI’s and a good description of the problem. It’s hard to tell what would cause the data to stop being transmitted/received. Have you been able to get this example (or another) working? That would rule out physical networking problems. If an example works then it’s something in your specific VI’s that you’ll have to figure out. You can also use Wire Shark to monitor your network traffic on the networking side to make sure the data is getting from one computer to another, but don’t start by using this program, there are easier (outlined above) ways to test this problem.
hey, well i was reading at this great post wich helped me very much and as i read more about the SVE i found that it uses UDP instead of TCP/IP, the thing is that NI has an enhanced propietary UDP protocol, wich implements time stamping and confirmation of received packet without sacrificing speed. I found it on “LabVIEW advanced programming techniques”, second edition. Sorry for my poor english